 Skip to content


Backing up used to mean craning your neck and praying you didn’t hit anything. But since 2018, the NHTSA has required all new cars in the USA to include rear-view cameras—a rule that’s saved countless lives. But what if your car is missing this feature? Good news: learning how to install a rear view camera in your car is easier (and cheaper) than you think. This guide walks you through everything from choosing the right camera to wiring it like a pro. No mechanic required!
Why Bother Installing a Rear View Camera?

The statistic stating that over 210,000 backup-related accidents occur annually in the United States originates from a 2006 report by the National Highway Traffic Safety Administration (NHTSA) titled “Estimation of Backover Fatalities.” This report estimated approximately 292 fatalities and 18,000 injuries each year due to backover incidents, totaling around 210,000 such accidents annually.NHTSA+1NHTSA+1
For more detailed information, you can refer to the full report here: Estimation of Backover Fatalities – NHTSANHTSA
Safety First
Over 200 fatalities and 12,000 injuries occur yearly from backover accidents in the U.S., according to the NHTSA. Rear-view cameras help eliminate blind spots, especially in SUVs and trucks.
Save Money
Skip the 400professionalinstallationfee.Witha400professionalinstallationfee.Witha50–$300 camera and basic tools, you’ll save hundreds. Some insurers, such as State Farm, offer discounts for adding safety features!
Boost Resale Value
Modern buyers expect tech-forward features. According to Kelley Blue Book, installing a camera can boost your car’s value by 3–5%.
Types of Rear View Cameras
1. Wired vs. Wireless
- Wired: Stable connection, ideal for harsh weather. (Cost: 50–50–200)
- Wireless: Easy setup but may lag in crowded areas. (Cost: 100–100–300)
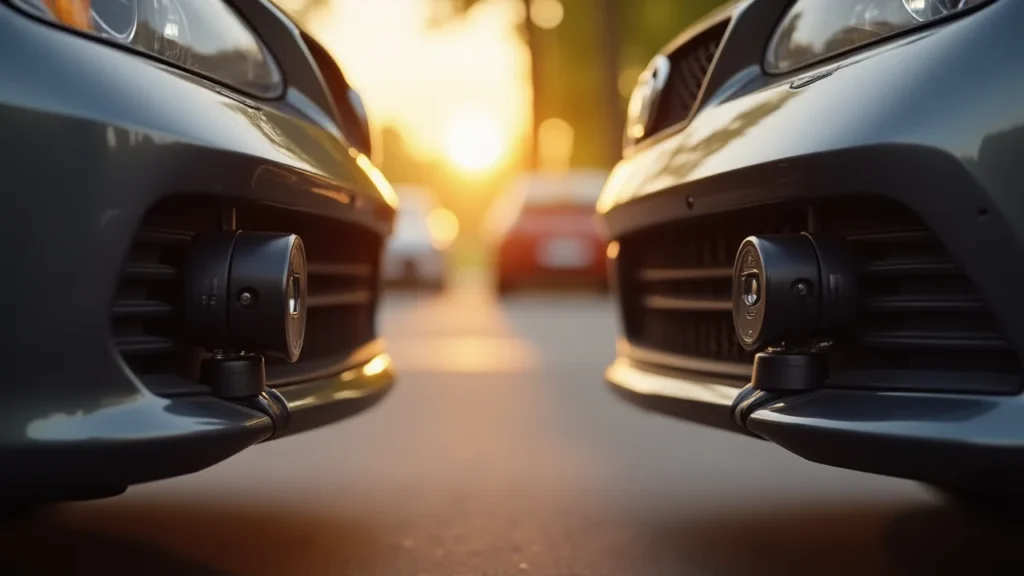
2. License Plate vs. Flush Mount
- License Plate: Bolt-on design, no drilling. (Best for beginners)
- Flush Mount: Sleek look but requires drilling. (Pro tip: Use a hole saw!)
3. Dash Cam Combos
2-channel dash cams like the Thinkware U3000 ($400) cover front and rear.
Cost Breakdown: DIY vs. Hiring a Pro

| Expense | DIY Cost | Professional Cost |
|---|---|---|
| Camera Kit | 50–50–300 | Included |
| Tools | 20–20–100 | – |
| Labor | – | 150–150–400 |
| Total | 70–70–400 | 200–200–700 |
How to Install a Rear View Camera in Your Car: A Simple Guide
🔧 Tools & Items You’ll Need
| Tool/Product | Purpose | Link |
|---|---|---|
| Wireless Backup Camera Kit | Main camera & monitor system | View on Amazon |
| Power Drill | Mounting the camera securely | View on Amazon |
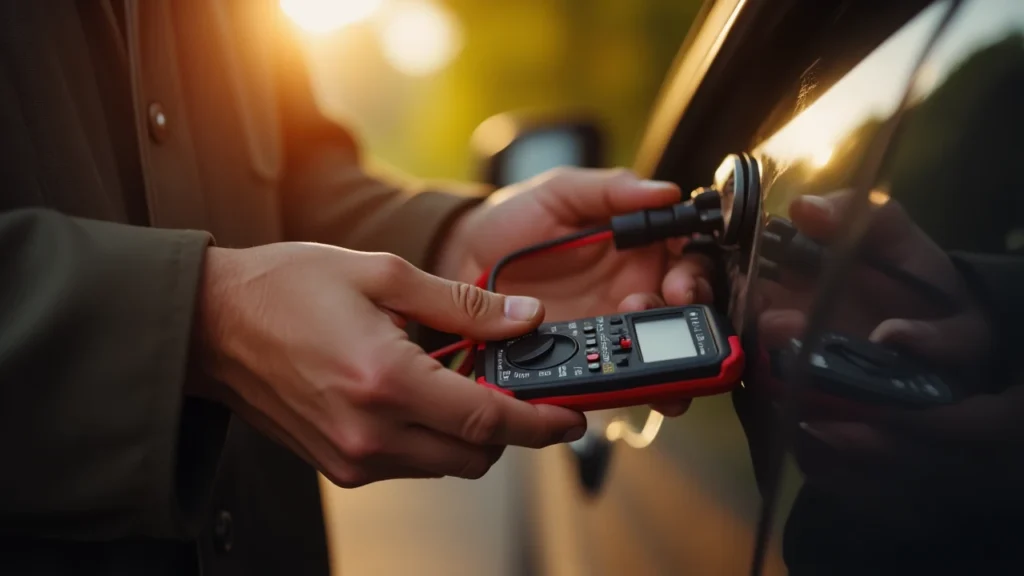
| Multimeter | Testing electrical wiring | View on Amazon |
| Wire Stripper & Tape | For clean wiring connections | View on Amazon |
| Zip Ties | To secure loose wires | View on Amazon |
Step 1: Mount the Camera
- For sedans, mount the camera above the license plate or on the rear windshield.
- For SUVs and trucks, use rubber grommets to guide wires through the liftgate.
Pro Tip: Avoid blocking the license plate lights!
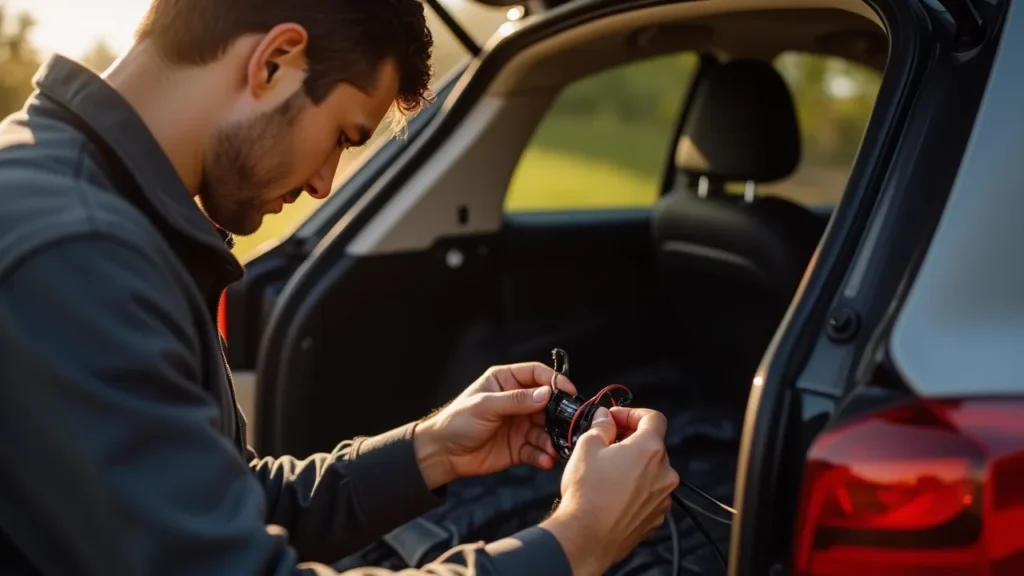
Step 2: Route the Wires
- Tuck cables under the headliner and door seals. Use trim tools to avoid scratches.
- For wireless systems: Mount the transmitter near the rear bumper.
Step 3: Connect to Power
- Ensure accuracy by verifying and connecting to the 12V wire of the reverse light.
- Using a dash cam combo? Hardwire it to the fuse box with a $10 Add-a-Fuse adapter.
Step 4: Test & Adjust
Turn on your car and check the camera feed. Adjust the angle to capture the bumper and 10–15 feet behind.
Top 3 Rear View Cameras for 2024
- Budget Pick: AGS Solar-Powered Camera ($59) – No wiring needed!
- Premium Option: Thinkware U3000 ($399) – 2K QHD + Night Vision.
- Wireless Kit: Pyle PLCM34WIR ($129) – Includes 4.3” monitor.
❌ Common Mistakes to Avoid
- Skipping waterproof sealing – Can lead to camera failure.
- Wrong power source – The camera won’t activate correctly.
- Poor wire management – Creates rattling and looks messy.
- Incorrect camera angle – Reduces visibility.
Take your time, and always double-check connections.
FAQs
1. How much time does it take to install a rear view camera?
Most DIYers finish in 2–3 hours. Wireless kits take under 1 hour.
2. Can I install a camera without drilling?
Yes! License plate cameras clip on with no tools.
3. Does it drain my car battery?
No—it only powers on when reversing or via ignition.
4. Will it work in the rain?
Look for IP67/IP68-rated cameras (waterproof).
5. How to install a rear view camera in your car if I’m not tech-savvy?
Opt for wireless kits like AGS Solar. They’re plug-and-play!
Other Related Blog
And If you’re looking for more everyday wellness tips and tricks, feel free to explore my other blogs—they cover a variety of topics designed to help you thrive in any situation!
https://whimsyfy.com/best-watch-brands-luxury-to-affordable-under-1000/
https://whimsyfy.com/can-headphones-cause-hair-loss-science-prevention/
